thingsboard真实项目实战三、源码部署
第四章、源码部署
如果项目中你想修改thingsboard的登录界面、显示图标等等内容,那么可以使用源码方式部署。
我们还是从一台刚安装好的虚拟机开始。
安装的服务器系统:Ubuntu 24.04 LTS
1、安装前准备
1.1、获取最新的软件包索引信息
sudo apt update1.2、安装Maven
ThingsBoard 编译需要 Maven 3.1.0+,因此先要安装Maven
sudo apt-get install maven1.3、安装安装java17支持
sudo apt install openjdk-17-jdk1.4、配置系统使用OpenJDK17
sudo update-alternatives --config java
这里我们选1让他使用17的版本。
检查java版本
java -version这样就对了
openjdk version "17.0.11" 2024-04-16
OpenJDK Runtime Environment (build 17.0.11+9-Ubuntu-1)
OpenJDK 64-Bit Server VM (build 17.0.11+9-Ubuntu-1, mixed mode, sharing)
2、下载源代码
2.1下载源代码
在ubuntu里去githab上克隆项目有点慢,不是很推荐,可以用有梯子的电脑去https://github.com/thingsboard/thingsboard下载,
或者使用我提供的3.7版本
thingsboard3.7源代码
下载后用终端工具里的sftp工具上传到你的用户目录中。(在第三章安装包部署里提过)
2.2解压代码
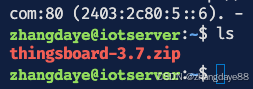
sudo unzip thingsboard-3.7.zip可能你会出现没有unzip命令

下面命令先安装unzip
sudo apt install unzip 然后再次运行解压缩代码
得到一个thingsboard-3.7的目录

进去看看

可以看到文件都存在了
4、在服务器上编译项目
thingsboard可以在你服务器上进行编译,你也可以在你的电脑上进行编译后在把文件复制到服务器上安装。这里先讲在服务器上直接进行编译。先决条件你要按开始装好maven和java。
突然发现一个好方法,就是用
mvn dependency:go-offline一次性将依赖下载好后在进行构建,具体看第五章。在服务器和windows上都可以这样做。
4.1、更改maven镜像仓库
由于访问Maven默认连接的仓库位置在国外相当慢,maven下载的东西又多,编译过程极难完成。因此必须更改Maven的默认连接位置。
使用apt安装的maven,他的配置文件settings.xml在Ubuntu中的位置在/usr/share/maven/conf
修改他
sudo vi /usr/share/maven/conf/settings.xml找到下面这一段,大概在159行左右

按i进如编辑模式,把这一段改为
nexus-aliyun central Nexus aliyun http://maven.aliyun.com/nexus/content/groups/public 按ESC键退出编辑模式,按" : ",输入wq,保存退出。
4.2、编译项目
如果你对程序需要修改,那么你先做相关修改,修改后,再运行编译,我们这里先暂时跳过修改环节,后面再详细说。
回到我们之前的thingsboard解压的目录。
cd ~/thingsboard-3.7ls看一下目录内文件,确保有pom.xml文件

运行编译命令,-DskipTests参数意思是跳过编译过程中的测试阶段
sudo mvn clean install -DskipTests4.3、坑
最大最大的就是网络!
比如这个gradle错误。Could not install Gradle distribution from 'https://services.gradle.org/distributions/gradle-7.3.3-bin.zip'.
[INFO] ------------------------------------------------------------------------
[INFO] BUILD FAILURE
[INFO] ------------------------------------------------------------------------
[INFO] Total time: 10:06 min
[INFO] Finished at: 2024-07-12T02:41:43Z
[INFO] ------------------------------------------------------------------------
[ERROR] Failed to execute goal org.thingsboard:gradle-maven-plugin:1.0.12:invoke (default) on project http: org.gradle.tooling.GradleConnectionException: Could not install Gradle distribution from 'https://services.gradle.org/distributions/gradle-7.3.3-bin.zip'. -> [Help 1]
[ERROR]
[ERROR] To see the full stack trace of the errors, re-run Maven with the -e switch.
[ERROR] Re-run Maven using the -X switch to enable full debug logging.
[ERROR]
[ERROR] For more information about the errors and possible solutions, please read the following articles:
[ERROR] [Help 1] http://cwiki.apache.org/confluence/display/MAVEN/MojoFailureException
[ERROR]
[ERROR] After correcting the problems, you can resume the build with the command
[ERROR] mvn-rf org.thingsboard.transport:http
再比如:Could not download Yarn: Could not download https://github.com/yarnpkg/yarn/releases/download/v1.22.17/yarn-v1.22.17.tar.gz这个错误
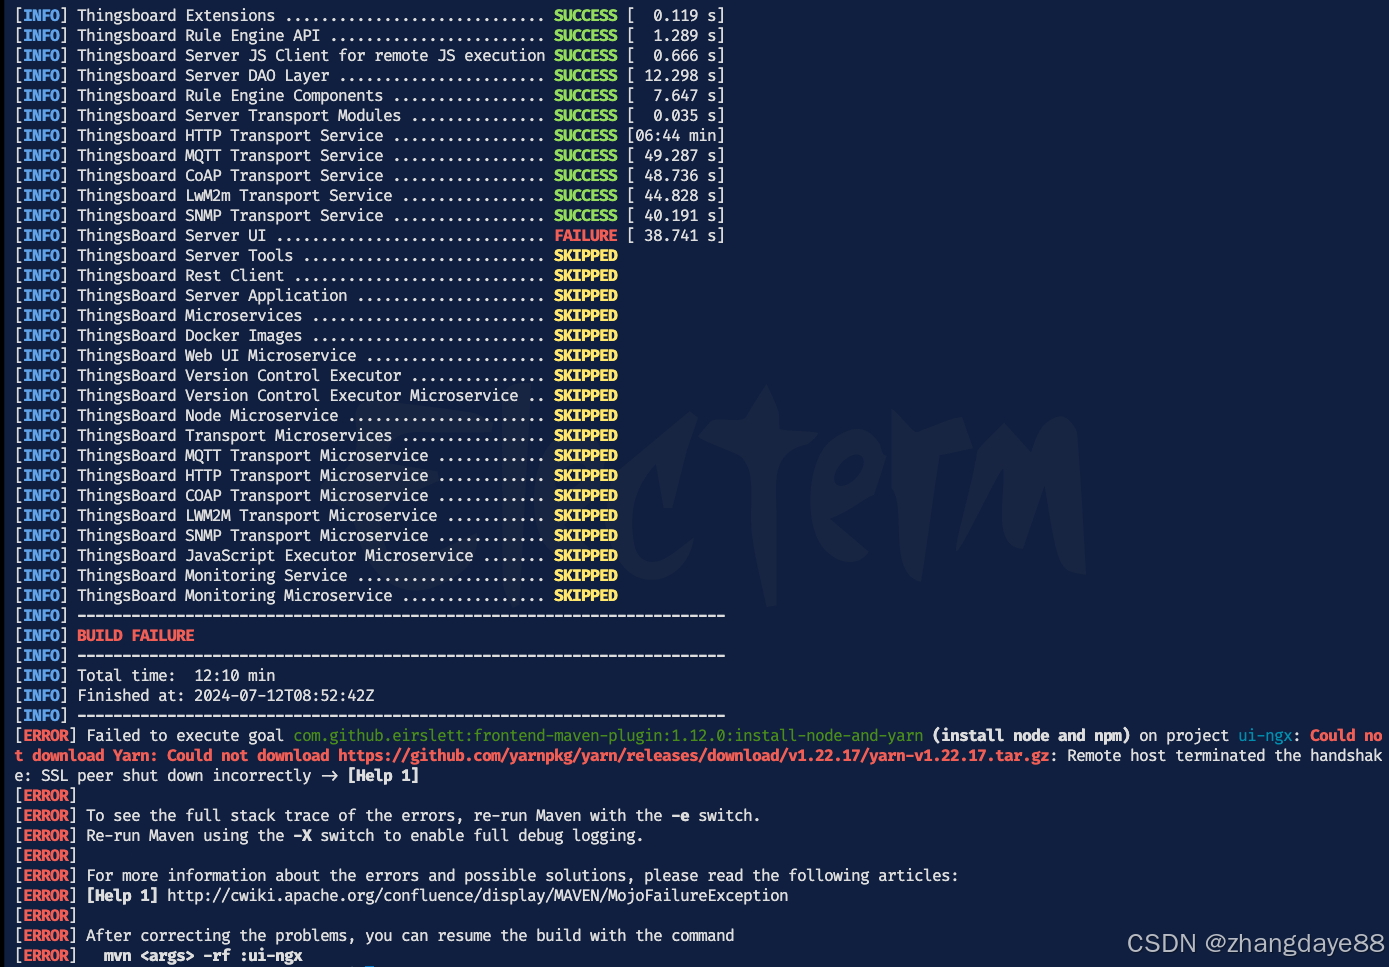
都是因为网络的问题造成的。可以参考后面windows编译的小节,
你可以去手动下载这些包,然后放在相应的目录里来解决。但。。。
去折腾这些包,不如想办法把服务器去爬楼梯。后面我们在windows下面演示如何解决这些问题。
最好的方案就是把服务器挂在能爬梯的网络上,30分钟就能搞定!,至于方法大家只有各想办法了,不方便说哈。不过有时候还是要多试几次才能搞定。
另外我后面第五章提供各位一份干净的依赖库使用。也可以加快构建的速度。
常见的编译失败原因除了网络问题,还有一下几点:
1、必须用sudo管理员身份运行mvn编译。
2、不要忘记安装java17,只支持java17的版本才能编译成功。
3、务必在thingboard目录中有pom.xml文件的目录中执行编译。
编译失败的话建议还是使用clean参数再次下载。
每次失败最好重新用clean参数清理做一次
1、
sudo mvn clean2、
sudo mvn clean install -DskipTests5、在windows电脑上编译项目
这里我们介绍在windows10下面对源码进行编译。
ps:因为想对thingsboard进行一些定制化开发,所以研究了下windows下对其进行编译,下面是基础的部分,详细在编译过程中遇到的坑,会在下一章单独进行说明。
如果你对编译、定制无需求,可以跳过这一节和下一章。
5.1、安装OpenJDK
在我们之前安装包安装的时候OpenJDK的版本是17.0.11,windows我们也用这个版本。去微软下载靠谱一些。
下载地址:https://learn.microsoft.com/zh-cn/java/openjdk/download
选择你要的windows版本下载安装。
为了方便我把所有都选上了
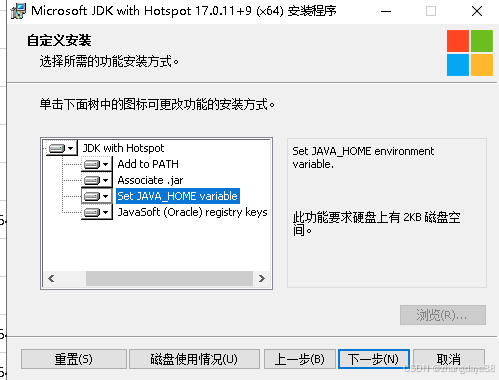
安装完毕后务必重启!
5.2、安装Maven
去https://maven.apache.org/download.cgi下在最新的Maven,我这里是3.8.8,把里面的文件放在自己想放的目录里。我这里是放在 C:\maven 目录。
Maven – Download Apache Maven
5.2、编辑环境变量

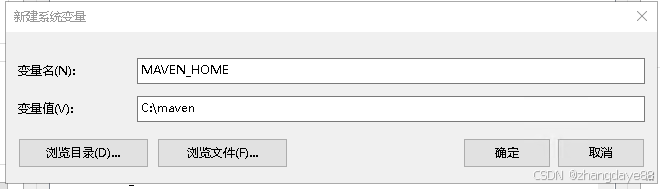
先是系统变量添加一个
变量名:MAVEN_HOME
变量值:C:\maven
你们根据自己的情况设置变量值,这个目录下要包括bin、boot、conf、lib这些目录哦。
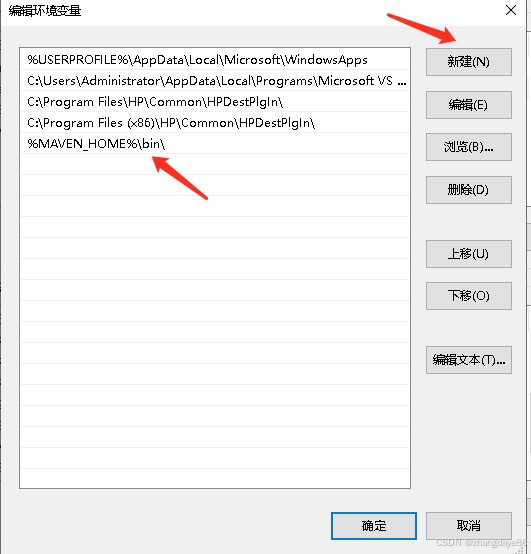
接下来是用户变量
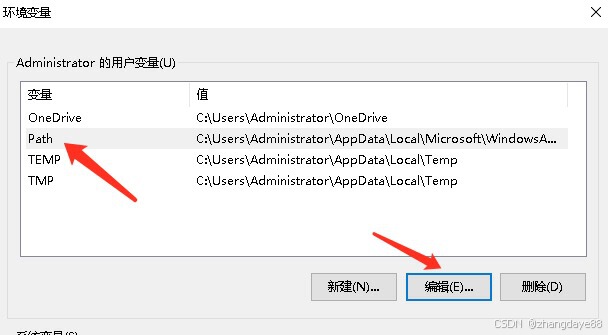
新建一个
%MAVEN_HOME%\bin\
在命令行运行
MVN --version

表示安装成功!
5.3、更改maven镜像仓库
同在服务器上运行一样,需要吧maven仓库位置改一下,在你的maven目录下有个conf目录,里面有个settings.xml
找到下面这一段,大概在159行左右
把这一段改为
nexus-aliyun central Nexus aliyun http://maven.aliyun.com/nexus/content/groups/public 保存退出。
5.3、安装git
构建过程需要用到git,去官网下载安装
https://git-scm.com/downloads
5.4、编译项目
用管理员权限运行命令提示行
输入:
mvn clean install -DskipTests5.5、常见错误
由于大部分情况是网络问题,因此常见的解决错误思路是单独去下载这个文件,然后复制到对应的目标位置,再重新编译一次。
在重新编译前,建议单独清理一下之前的缓存。
mvn clean然后再开始新的编译
mvn clean install -DskipTests这样可以清除一下奇奇怪怪的问题。
5.5.1、gradle分发包错误
收到下面这个错误
[ERROR] Failed to execute goal org.thingsboard:gradle-maven-plugin:1.0.12:invoke (default) on project http: org.gradle.tooling.GradleConnectionException: Could not install Gradle distribution from 'https://services.gradle.org/distributions/gradle-7.3.3-bin.zip'. -> [Help 1]
这是gradle分发包下载出错了
看一下错误信息
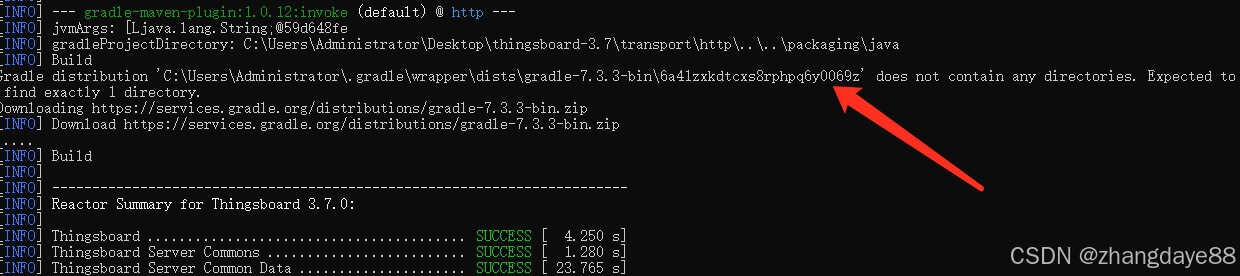
手动下载gradle
https://services.gradle.org/distributions/gradle-7.3.3-bin.zip
找到上面图片显示的路径 ,把这个手动下载的文件复制到这个目录中去。
然后再次运行编译
mvn clean install -DskipTests
5.5.2、Yarn安装错误
收到下面这个错误
Failed to execute goal com.github.eirslett:frontend-maven-plugin:1.12.0:install-node-and-yarn (install node and npm) on project ui-ngx: Could not extract the Yarn archive: Could not extract archive: 'C:\Users\Administrator\.m2\repository\com\github\eirslett\yarn\1.22.17\yarn-1.22.17.tar.gz'
错误说的很详细,解压文件失败,我们去C:\Users\Administrator\.m2\repository\com\github\eirslett\yarn\1.22.17这个目录看看,发现啥也没有,
同上去下载这个yarn-1.22.17.tar.gz复制到C:\Users\Administrator\.m2\repository\com\github\eirslett\yarn\1.22.17
这个目录中去。
重要:
修改名字为:yarn-1.22.17.tar.gz
这里给出下载链接
https://github.com/yarnpkg/yarn/releases/tag/v1.22.17
5.5.3、缺少预期的许可证头
错误信息(你可能收到的不止一个这样的错误,一一改正)
Failed to execute goal com.mycila:license-maven-plugin:3.0:check (default) on project util: Some files do not have the expected license header -> [Help 1]
org.apache.maven.lifecycle.LifecycleExecutionException: Failed to execute goal com.mycila:license-maven-plugin:3.0:check (default) on project util: Some files do not have the expected license header
这个错误表明有些文件缺少预期的许可证头。为了修复这个问题,你需要确保所有文件都包含正确的许可证头。
需要找出哪些文件缺少许可证头。
我们这里是C:/Users/Administrator/Desktop/thingsboard-3.7/common/util/bin/src/test/resources/logback-test.xml
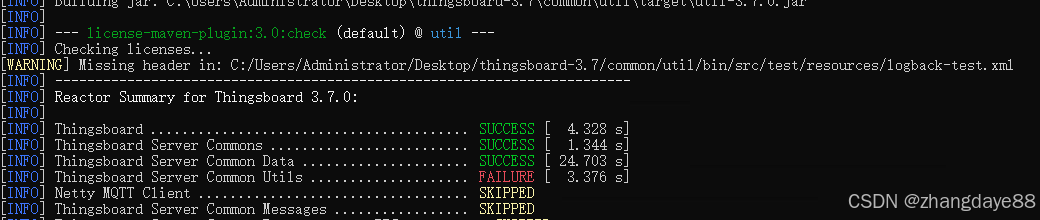
打开这个文件,将下面license头加到文件开头。
保存重新编译。
5.5.4、yarn install错误
[ERROR] Failed to execute goal com.github.eirslett:frontend-maven-plugin:1.12.0:yarn (yarn install) on project ui-ngx: Failed to run task: 'yarn install --non-interactive --network-concurrency 4 --network-timeout 100000 --mutex network' failed. org.apache.commons.exec.ExecuteException: Process exited with an error: 1 (Exit value: 1) -> [Help 1]
这是网络问题造成的,我们看看出错的地方
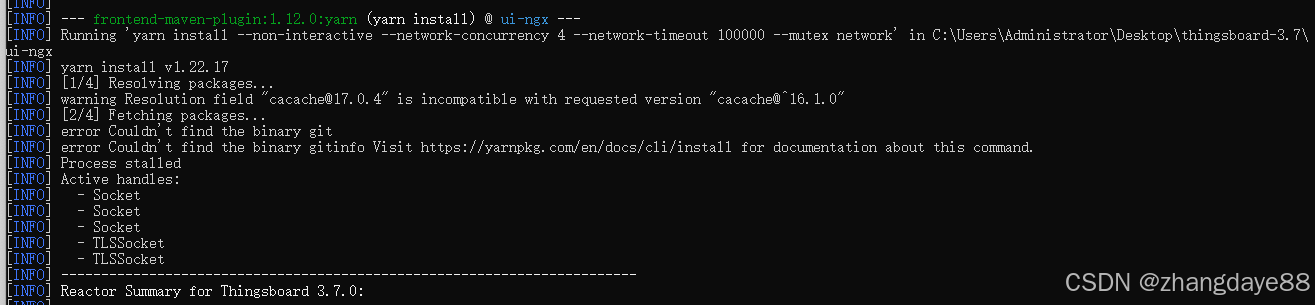
去下载git安装即可
Git for Windows
记得重启后再次编译
5.5.5、总结
大部分的问题还是网络造成的,因此搭建一个好的梯子相当重要。如果过程中发生错误,那么第一看原因,缺啥文件,不能下载就手动下载,能下载就多试几次。总体过程是痛苦的。
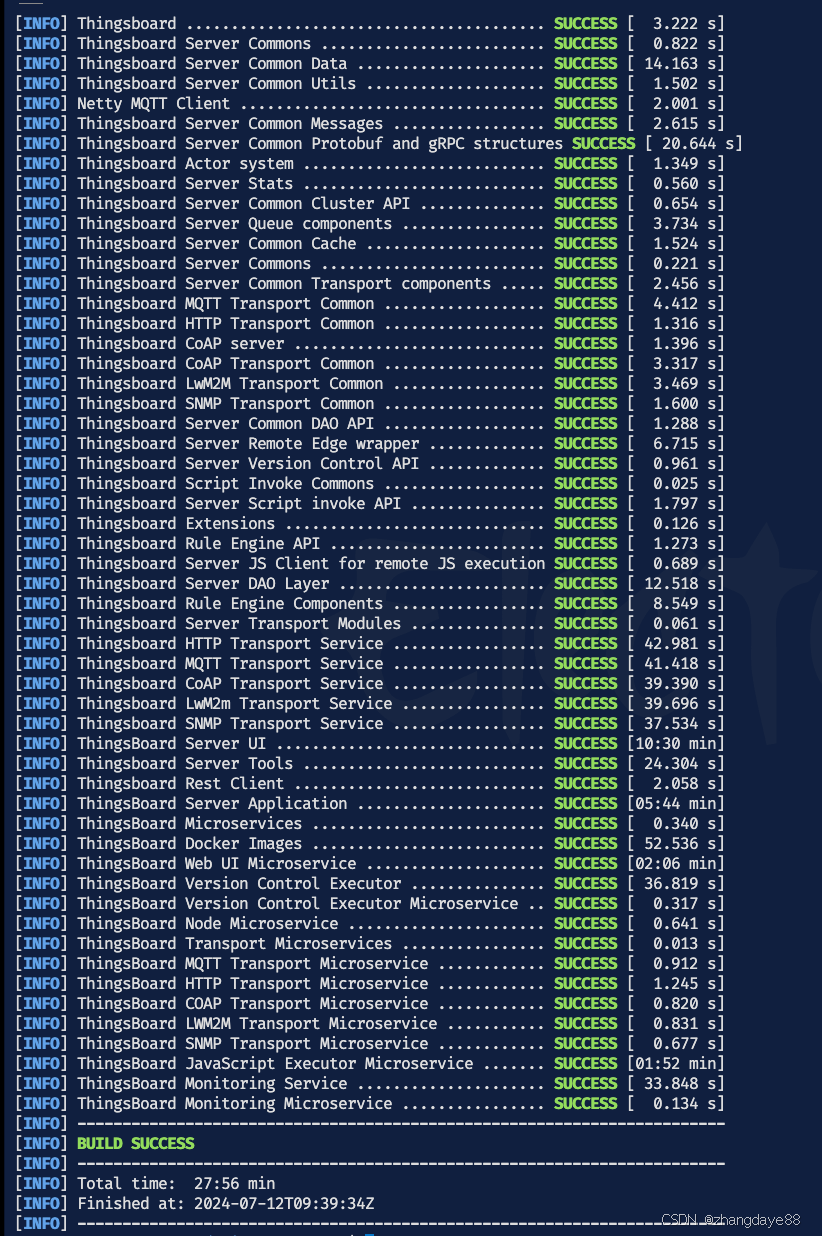
6、编译成功后的事
不管在ubuntu和window中编译,成功后在thingsboard目录的application目录下会有个target目录
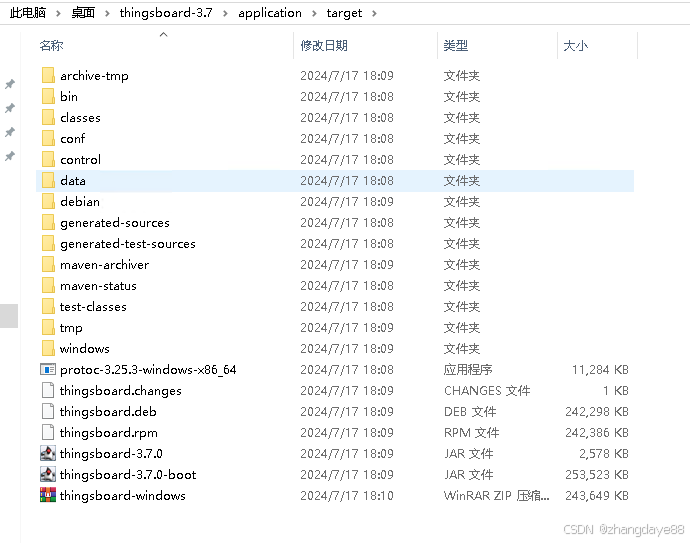
里面包含了Ubuntu的thingsboard.deb安装包
包含了thingsboard-windows的安装包
还有thingsboard.rpm安装包
可以根据需要选择安装
具体安装我们在之前第三章已经讲过了。
按照之前的把相关依赖、环境装好,再安装即可。