ubuntu搭建jupyter_notebook服务器
环境:ubuntu 22.04
目录
环境:ubuntu 22.04
一、创建一个anaconda用户
创建用户condaUser
为用户condaUser设置密码
开放opt文件夹的权限
登录condaUser用户
二、安装anaconda
下载anaconda
安装anaconda
三、添加环境变量
四、anaconda换源
这里使用清华源
查看源配置
五、anaconda创建虚拟环境
创建虚拟环境
切换到指定源
六、安装jupyter notebook
七、jupyter notebook配置
创建工作目录
生成访问密码
生成配置文件
编辑生成的配置文件
八、安装nginx
安装nginx
修改nginx配置文件
九、启动服务器
启动nginx
后台启动jupyter notebook
十、访问jupyter notebook服务器
一、创建一个anaconda用户
这步没有也无所谓,我只是不想把anaconda安装在/root目录里
创建用户condaUser
sudo useradd -r -m -s /bin/bash condaUser 为用户condaUser设置密码
sudo passwd condaUser创建工作目录
sudo mkdir /opt/jupyter_notebook_workspace 分配工作目录给condaUser
sudo chown -R condaUser:condaUser /opt/jupyter_notebook_workspace登录condaUser用户
二、安装anaconda
下载anaconda
先在清华大学开源软件镜像站选一款心怡的安装包
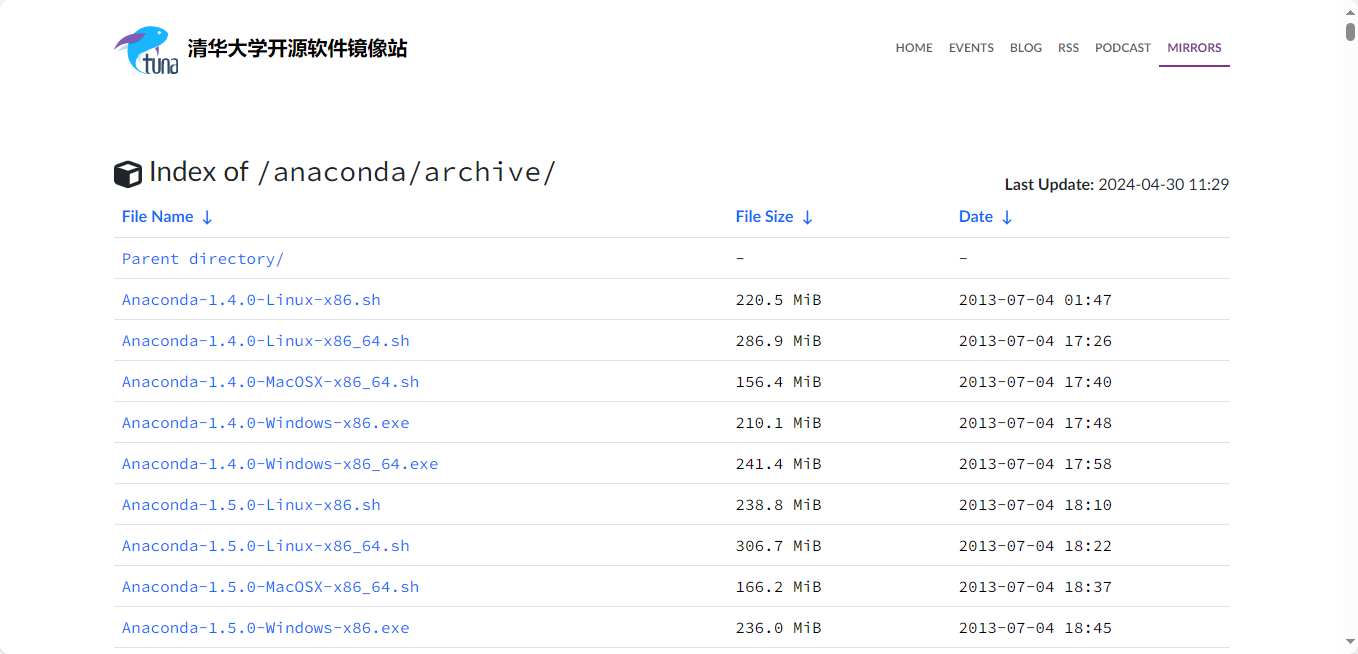
使用wget命令下载这个安装包,如:
wget --user-agent="Mozilla" https://mirrors.tuna.tsinghua.edu.cn/anaconda/archive/Anaconda3-2023.09-0-Linux-x86_64.sh 安装anaconda
下载后的文件在/home/condaUser目录下,我们作为condaUser用户,这是我们的家目录。在这个目录下执行:
bash Anaconda3-2023.09-0-Linux-x86_64.sh 输入q退出协议,这里不用按enter一行一行看,要是一不小心按多了,就会退出安装,又得再看一遍
输入yes开始安装
三、添加环境变量
编辑配置文件.bashrc
vim ~/.bashrc 点击i进入编辑模式,在最后一行添加:
export PATH=$PATH:/home/condaUser/anaconda3/bin 点击esc退出编辑模式
输入:wq回车,进行保存
重新加载配置文件
source ~/.bashrc 这时可以使用conda命令
conda -V 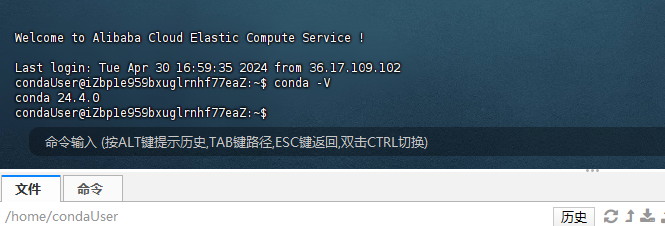
四、anaconda换源
这里使用清华源
conda config --add channels https://mirrors.tuna.tsinghua.edu.cn/anaconda/pkgs/free conda config --add channels https://mirrors.tuna.tsinghua.edu.cn/anaconda/pkgs/main conda config --add channels https://mirrors.tuna.tsinghua.edu.cn/anaconda/pkgs/r conda config --set show_channel_urls yes 查看源配置
conda config --show channels 
五、anaconda创建虚拟环境
更新conda
conda update conda更新pip
python -m pip install -i https://pypi.tuna.tsinghua.edu.cn/simple --upgrade pippip设置清华源
pip config set global.index-url https://pypi.tuna.tsinghua.edu.cn/simple创建虚拟环境
实例中创建一个叫ai的虚拟环境,并指定使用python版本3.9(如果后面需要下载tensorflow,最好指定一下版本不超过3.9,tensorflow不支持3.9以后的python版本了)
conda create -n ai python=3.9 切换到指定源
source activate ai 也可以在~/.bashrc末尾添加
alias conda_ai='source activate ai' 后重新加载配置文件,即可使用conda_ai切换到虚拟环境ai
六、安装jupyter notebook
先进入我们需要的虚拟环境,如进入虚拟环境ai
conda install jupyter notebook 不知道为什么,这样子安装后的jupyter notebook运行的时候会出现websocket连接失败的问题,需要再执行
pip install -U jupyter 七、jupyter notebook配置
生成访问密码
在命令行中输入python 回车 进入python命令行界面
执行如下:
from jupyter_server.auth import passwd; passwd(algorithm='sha1') 重复两次密码得到密码的sha1
生成配置文件
jupyter notebook --generate-config 编辑生成的配置文件
vim /home/condaUser/.jupyter/jupyter_notebook_config.py 在最后一行加入
c.ServerApp.ip = '0.0.0.0' c.ServerApp.password = '' # 这里输入之前得到的sha1 c.ServerApp.open_browser = False c.ServerApp.port = 8888 # 如果你不希望使用nginx转发,也可以直接配置成80,从80端口直接启动需要root权限 c.ServerApp.allow_remote_access = True c.NotebookApp.notebook_dir = r'/opt/jupyter_notebook_workspace' :wq保存退出
八、安装nginx
这里先切换回root用户
安装nginx
apt install -y nginx 修改nginx配置文件
vim /etc/nginx/nginx.conf 在http块中加入
server { listen 80; server_name 域名或ip; client_max_body_size 10G; location / { proxy_pass http://127.0.0.1:8888; proxy_set_header X-Real-IP $remote_addr; proxy_set_header Host $host; proxy_set_header X-Forwarded-For $proxy_add_x_forwarded_for; proxy_http_version 1.1; proxy_set_header Upgrade $http_upgrade; proxy_set_header Connection "upgrade"; proxy_redirect off; } } :wq 保存退出
九、启动服务器
启动nginx
没装不用启动
nginx 后台启动jupyter notebook
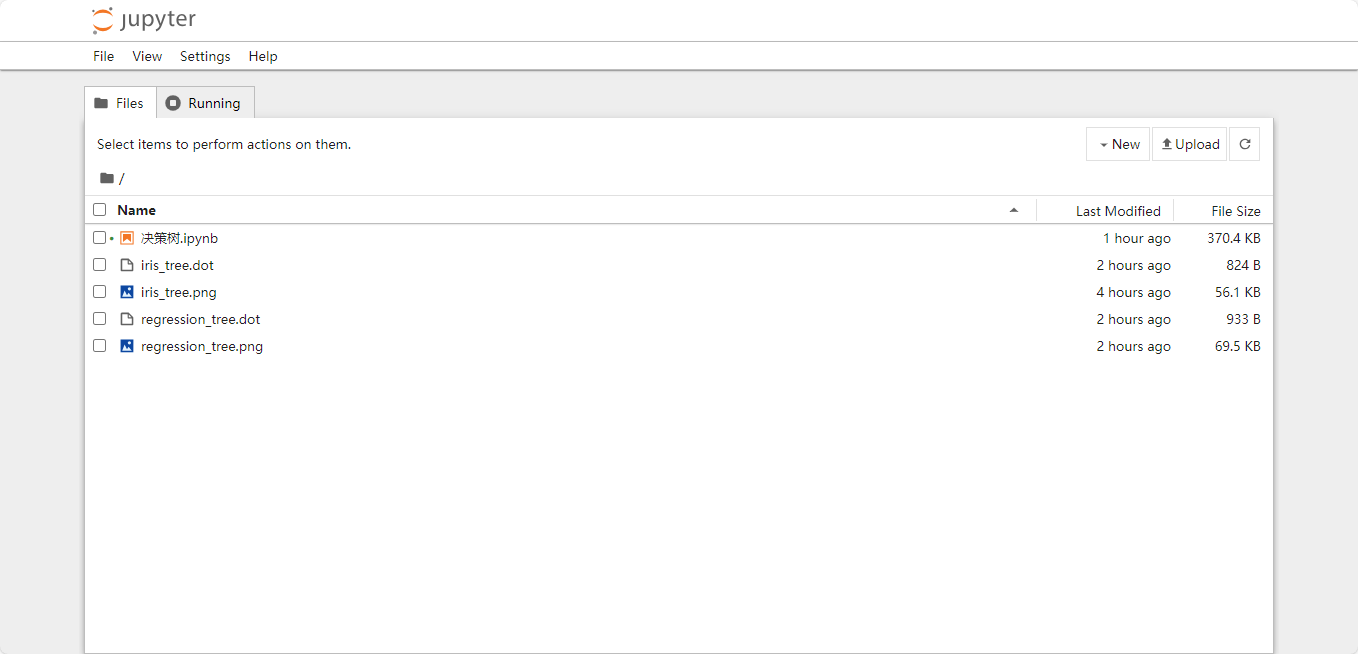
jupyter notebook & 十、访问jupyter notebook服务器
在浏览器输入你的域名或ip
在登录页面输入你的密码就可以看到你的jupyter notebook了