十七、【文本编辑器(三)】图像坐标变换

目录
一、缩放功能
二、旋转功能
三、镜像功能
四、QMatrix简单介绍
一、缩放功能
(1)在头文件中添加 “protected slots:" 变量:
void ShowZoomln( );(2)在 createActionso函数的最后添力口事件关联:
connect(zoomlnAction,SIGNAL(triggered()),this,SLOT(ShowZoomln()));(3) 实现图形放大功能的函数 ShowZoomIn() 如下:
void ImgProcessor::ShowZoomln( ) { if(img.isNull()) return; QMatrix martix; martix.scale(2,2); img = img.transformed(martix); showWidget->imageLabel->setPixmap(QPixmap::fromlmage(img)); }解析:
- if(img.isNull( )) 有效性判断。
- QMatrix martix、martix.scale(2,2)、img = img.transformed(martix):声明一个 QMatrix 类的实例,按照两倍比例对水平和垂直方向进行放大,并将当前显示的图形按照该坐标矩阵进行转换。
- QMatrix & QMatrix::scale(qreal sx,qreal sy)函数返回缩放后的 matrix 对象引用,若要实现两倍比例的缩小,则参数 SX 和 sy 改为 0.5 即可。
- showWidget->imageLabeI->setPixmap(QPixmap::fromImage(img)):重新设置显示图形。
(4) 在头文件中添加 “protected slots:” 变量:
void ShowZoomOut( );(5) 在 createActions() 函数的最后添加事件关联:
connect(zoomOutAction,SIGNAL(triggered()),this,SLOT(ShowZoomOut()));(6) 实现图形缩小功能的函数 ShowZoomOuto如下:
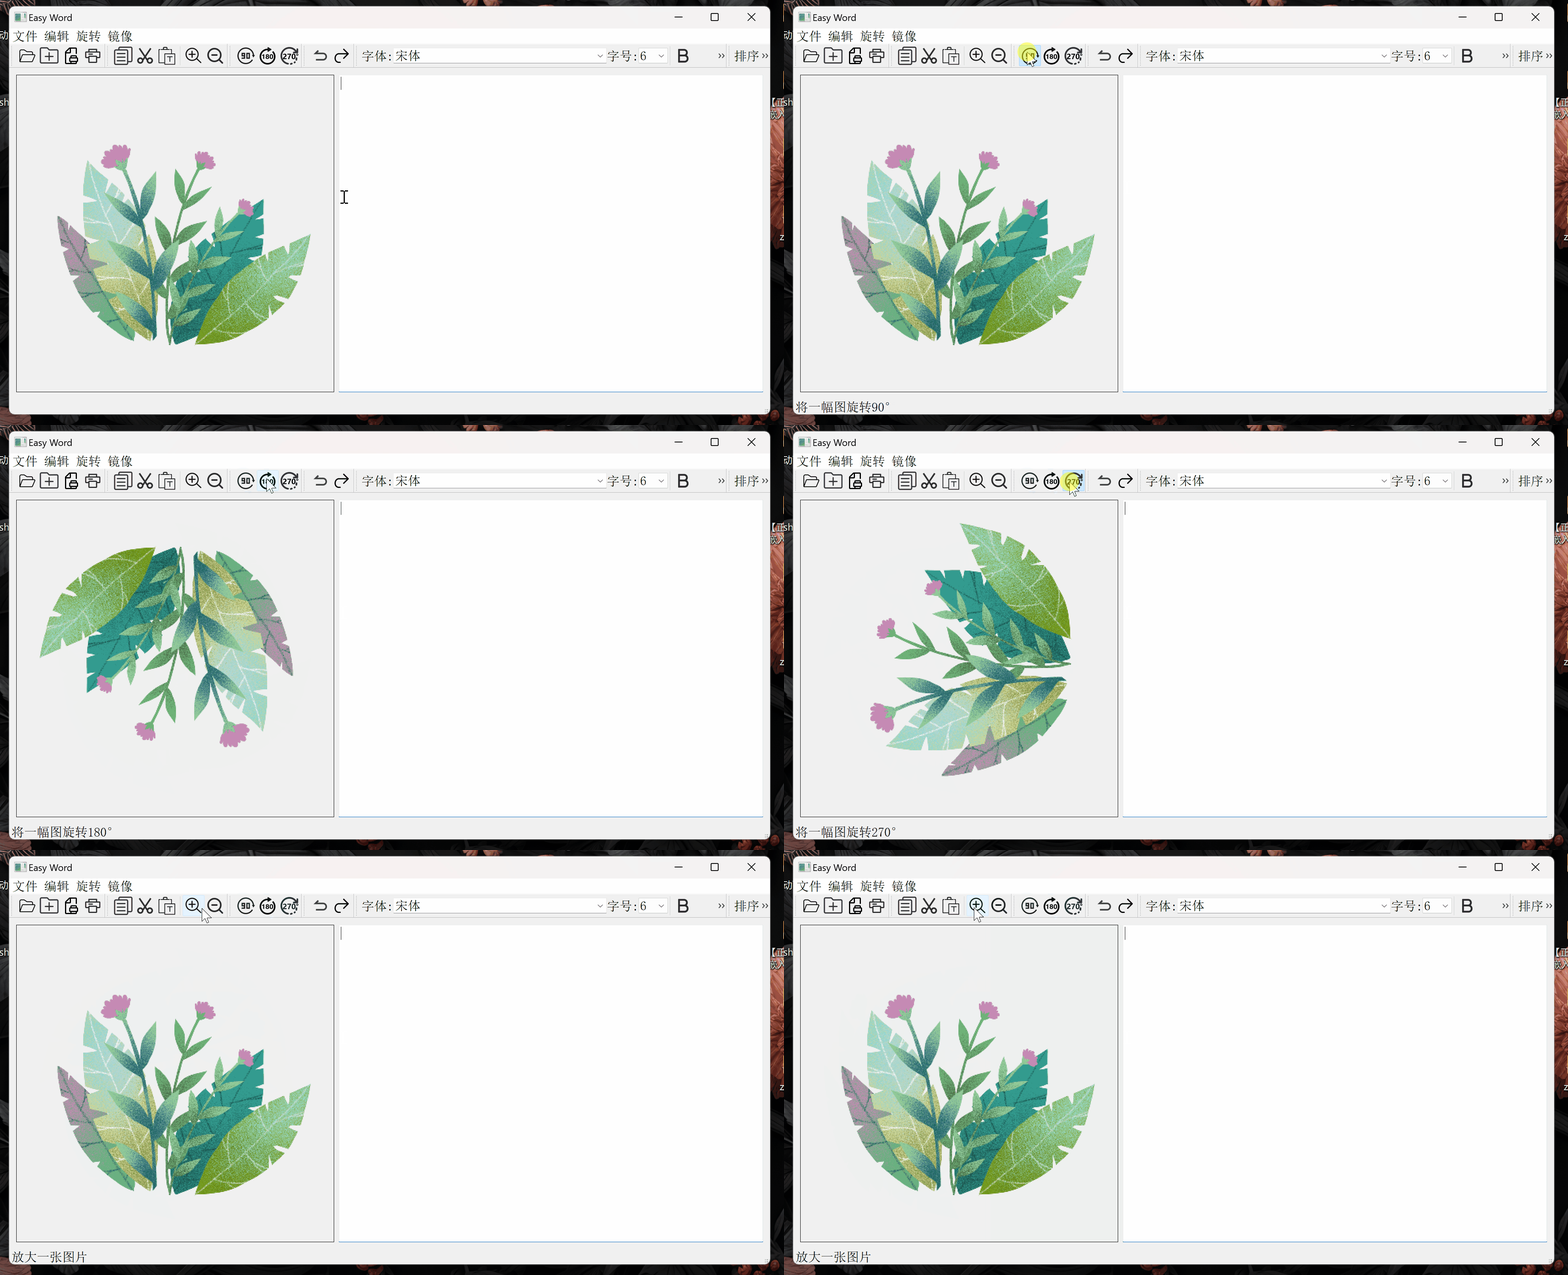
void ImgProcessor::ShowZoomOut() { if(img.isNull()) return; QMatrix matrix; matrix.scale(0.5, 0.5); img = img.transformed(matrix); showWidget->imageLabel->setPixmap(QPixmap::fromlmage(img)); }(7) 运行程序,单击“编辑”->“放大”命令或单击工具栏上的按钮,界面效果如下图所示。

二、旋转功能
ShowRotate90()函数实现的是图形的旋转,此函数实现坐标的逆时针旋转 90°。具体实现步骤如下。
(1)在头文件中添加 “protected slots:” 变量:
void ShowRotate90();(2)在 createActionso函数的最后添加事件关联:
connect(rotate90ActionzSIGNAL(triggered( )),this,SLOT(ShowRotate90()));(3)ShowRotate90()函数的具体实现代码如下:
void ImgProcessor::ShowRotate90() { if(img.isNull()) return; QMatrix matrix; matrix.rotate(90); img = img.transformed(matrix); showWidget->imageLabel->setPixmap(QPixmap::fromlmage(img)); } transformed() 函数是 QPixmap 类的成员函数,用于将当前图片按照给定的变换矩阵进行变换。这个函数会返回一个新的 QPixmap 对象,表示经过变换后的图片。
类似地,实现旋转 180° 和 270°功能也是相似的代码。
(4)运行程序,单击“旋转”->“旋转 90。”命令或单击工具栏上的按钮,图像旋转效果如下图所示。

三、镜像功能
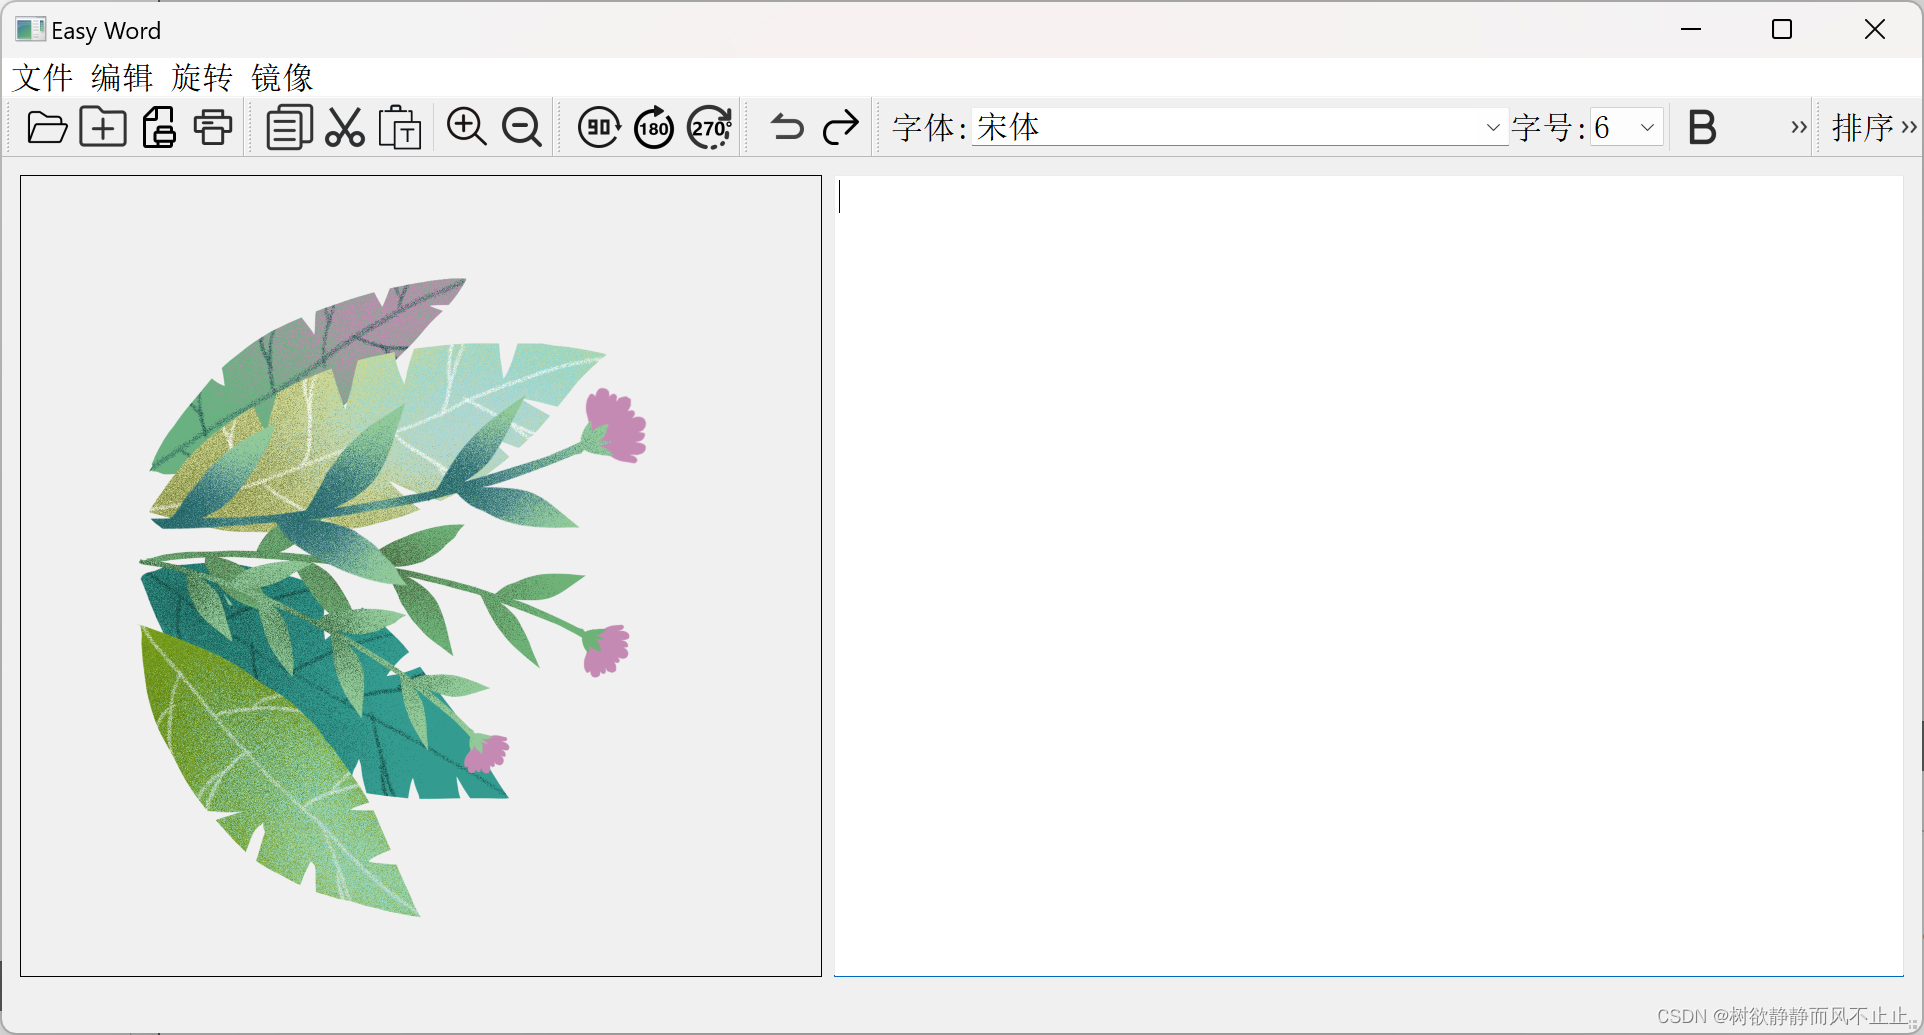
ShowMiirorVertical()函数实现的是图形的纵向镜像,ShowMirrorHorizontal()实现的则是横向镜像。通过 QImage::mirrored(bool horizontal,bool vertical)实现图形的镜像功能,参数 horizontal 和 vertical 分别指定了镜像的方向。具体实现步骤如下。
(1)在头文件中添加 “protected slots:" 变量:
void ShowMirrorVertical(); void ShowMirrorHorizontal();(2) 在 createActions() 函数的最后添加事件关联:
connect(mirrorVerticalAction,SIGNAL(triggered()),this,SLOT(ShowMirrorVertical())); connect(mirrorHorizontalAction,SIGNAL(triggered()),this,SLOT(ShowMirrorHorizontai()));(3)ShowMirrorVertical ()、ShowMirrorHorizontal ()函数的具体实现代码如下:
void ImgProcessor::ShowMirrorVertical() { if(img.isNull()) return; img=img.mirrored(false,true); showWidget->imageLabel->setPixmap(QPixmap::fromlmage(img)); }void ImgProcessor::ShowMirrorHorizontal() { if(img.isNull()) return; img=img.mirrored(true,false); showWidget->imageLabel->setPixmap(QPixmap::fromlmage(img)); }(4)此时运行程序,单击“镜像”->"横向镜像" 命令,显示效果如下图所示。

四、QMatrix简单介绍
QMatrix是Qt框架中的一个类,用于表示2D变换矩阵。通过QMatrix类,可以进行平移、旋转、缩放等2D变换操作,常用于Qt中的绘图操作。
(1)translate(dx, dy): 平移变换示例
#include int main() { QMatrix matrix; matrix.translate(100, 100); // 在水平方向上平移100个单位,在垂直方向上平移100个单位 // 应用变换后,matrix表示的是一个将坐标系向右平移100个单位,向下平移100个单位的变换矩阵 return 0; } (2)rotate(angle): 旋转变换示例
#include int main() { QMatrix matrix; matrix.rotate(45); // 逆时针旋转45度 // 应用变换后,matrix表示的是一个逆时针旋转45度的变换矩阵 return 0; } (3)scale(sx, sy): 缩放变换示例
#include int main() { QMatrix matrix; matrix.scale(2, 2); // 水平和垂直方向都放大两倍 // 应用变换后,matrix表示的是一个将坐标系在水平和垂直方向都放大两倍的变换矩阵 return 0; } (4)shear(sh, sv): 剪切变换示例
#include int main() { QMatrix matrix; matrix.shear(0.5, 0); // 水平方向上剪切因子为0.5,垂直方向上剪切因子为0 // 应用变换后,matrix表示的是一个在水平方向上剪切因子为0.5的变换矩阵 return 0; } (5)reset(): 重置矩阵示例
#include int main() { QMatrix matrix; matrix.translate(100, 100); matrix.reset(); // 重置矩阵为单位矩阵,即恢复到没有任何变换的状态 return 0; } (6)map(point): 点映射示例
#include #include int main() { QMatrix matrix; matrix.translate(100, 100); QPointF point(50, 50); QPointF transformedPoint = matrix.map(point); // 将点(50, 50)应用变换后得到的新点 return 0; }
